Are you planning a Pokémon-themed birthday party or event? One of the most delightful ways to bring a touch of Pokémon magic to your celebration is through DIY cake toppers. This beginner-friendly guide will walk you through the process of creating charming Pokémon cake toppers that are sure to impress your guests and make your cake the star of the show.
Why Choose DIY Cake Toppers?
Creating your own cake toppers has several advantages:
- Personalization: You can customize your cake toppers to reflect your favorite Pokémon or the personality of the birthday child.
- Cost-Effective: DIY cake toppers are often more affordable than store-bought options, allowing you to save money for other party essentials.
- Creative Expression: Crafting your own toppers allows you to tap into your creativity and artistic skills.
- Fun Activity: Making cake toppers can be a fun activity that you can do with friends or family.
Materials Needed
Before diving into the crafting process, gather the necessary materials. Here’s what you’ll need:
- Colored fondant or modeling clay (in various colors)
- Edible glue or water
- Toothpicks or skewers (for stability)
- Rolling pin
- Cornstarch or powdered sugar (to prevent sticking)
- Sharp knife or fondant cutting tools
- Piping gel or edible markers (for details)
- Small round candies (for eyes, if desired)
Choosing Your Pokémon

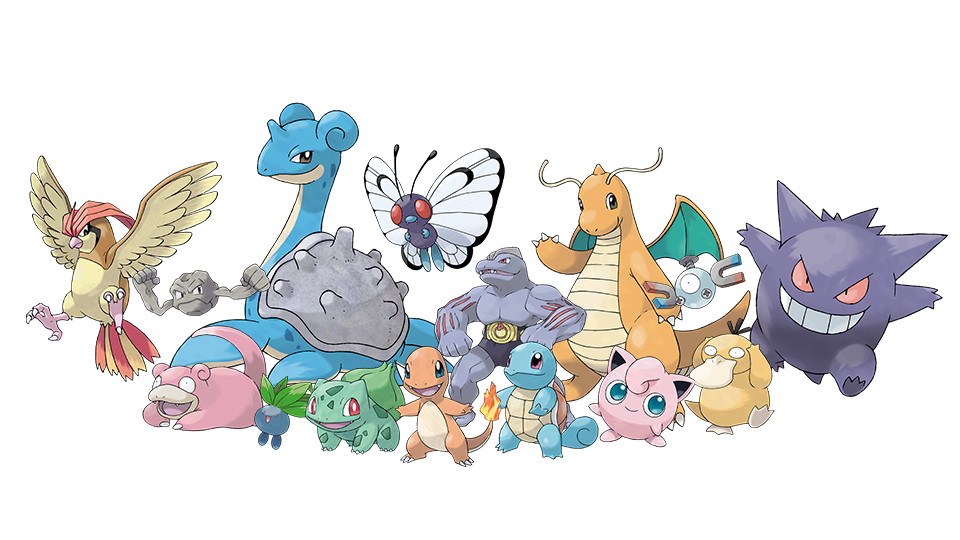
When it comes to selecting which Pokémon to feature, consider the preferences of the birthday child or the overall theme of the party. Popular choices include:
- Pikachu
- Charmander
- Bulbasaur
- Squirtle
- Eevee
For beginners, Pikachu is a great option due to its iconic shape and bright colors, making it easier to replicate.
Step-by-Step Guide to Creating a Pikachu Cake Topper
Follow these simple steps to create a delightful Pikachu cake topper:
Step 1: Prepare Your Workspace
Start by clearing your workspace and covering it with a non-stick mat or parchment paper. This will help keep things tidy and prevent the fondant from sticking.
Step 2: Create the Body
1. Take a piece of yellow fondant and knead it until it becomes soft and pliable.
2. Roll the fondant into a ball and then shape it into an oval for Pikachu’s body.
3. Make a smaller oval for the head and attach it to the body using edible glue or a bit of water.
Step 3: Add the Features

1. For the ears, roll two elongated shapes of yellow fondant and taper them at one end. Attach them to the top of Pikachu’s head.
2. Create the inner ear details using a small piece of pink fondant. Cut it into the shape of the inner ear and attach it similarly.
3. Roll tiny balls of black fondant for the eyes and a small white piece for the reflection. Assemble these on the face.
Step 4: Add the Tail

1. For Pikachu’s zigzag tail, roll out a thick piece of yellow fondant and shape it into the distinctive lightning bolt form.
2. Attach it to the back of Pikachu’s body securely.
Step 5: Final Touches
1. Use a small brush to apply a bit of edible glue to the cheeks, and then dust on some pink or red edible powder for that rosy cheek effect.
2. If desired, you can add extra details with edible markers or piping gel.
Step 6: Assemble the Toppers
1. Insert a toothpick or skewer into the bottom of your Pikachu topper for stability.
2. Place your completed cake topper on top of the cake once it’s ready.
Other Pokémon Cake Topper Ideas
Once you’ve mastered Pikachu, consider trying out these other Pokémon cake toppers:
- Charmander: Use orange fondant for the body, and create a flame tail using red and yellow fondant.
- Bulbasaur: Use green fondant and add a small plant on its back using darker green and purple shades.
- Squirtle: A blue body with a chocolate shell can be a fun and easy project.
Tips for Success
Here are some helpful tips to ensure your DIY cake toppers turn out great:
- Keep It Moist: Fondant can dry out quickly, so keep unused pieces covered with plastic wrap.
- Practice Makes Perfect: Don’t be discouraged if your first attempt doesn’t turn out perfectly; practice will improve your skills.
- Use Tools: Invest in a few basic fondant tools to help with shaping and detailing.
- Watch Tutorials: Online video tutorials can provide additional guidance and inspiration.
Case Study: A Successful Pokémon-Themed Party

A local mom, Sarah, shared her experience of organizing a Pokémon-themed birthday party for her son. She decided to make DIY cake toppers and found that the process not only saved her money but also allowed her to bond with her son. They spent an afternoon crafting various Pokémon characters, which became a cherished memory.
Sarah’s cake, topped with her homemade Pikachu and Charmander, was a hit among the kids and even adults at the party. She reported that many guests complimented the toppers and asked how she made them, showcasing the success of her DIY endeavor.
Creating DIY Pokémon cake toppers is a rewarding and enjoyable activity that can add a personal touch to any celebration. By following this step-by-step guide, beginners can easily craft charming figures that will delight guests and make any cake stand out.
Remember to gather the right materials, choose your favorite Pokémon, and don’t be afraid to express your creativity. With practice and a little patience, you’ll be able to create cake toppers that not only look great but also hold sentimental value for you and your loved ones. So grab your fondant, roll up your sleeves, and let the Pokémon adventure begin!
.jpg "Top 10 Must-Have Supplies for Equine First Aid")


